Red White and Blue Desserts: Mini Cheesecakes Perfect for a Potluck
Are you looking for the perfect patriotic dessert for your active duty member’s next promotion ceremony? Need red white and blue desserts for a Fourth of July celebration or just want to make your kids feel special during Month of the Military child? Look no further than these red white and blue mini cheesecakes. They are easy to make and will be a hit with your guests at any patriotic celebration.
These little desserts are simple to make and can be assembled in just a few minutes. They’re also delicious and sure to please any crowd. Whether you’re hosting a 4th of July party or just want to show your patriotism, these mini cheesecakes are the perfect choice!
Not only are they beautiful to look at, but they taste amazing too!
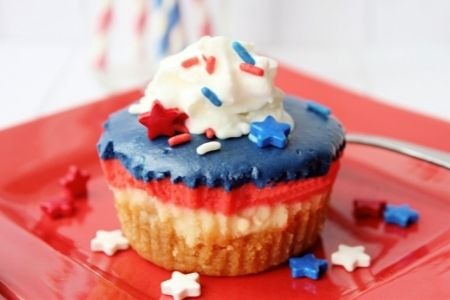
This red white and blue dessert only needs simple, on-hand ingredients!
I love that these mini red white and blue desserts use ingredients that are simple and typically on-hand in my kitchen as a mom: graham crackers, sugar, butter, cream cheese, sugar, sour cream, flour, vanilla extract, eggs. The recipe also calls for red and blue food color, but don’t worry if you’re a family with a child that can’t have Red Dye #40.(We know that battle well at our home!) You can totally substitute a strawberry puree instead.
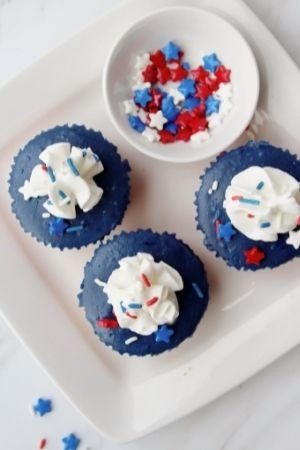
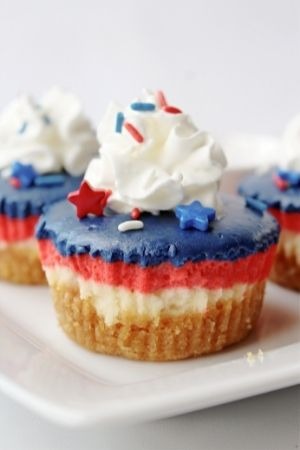
Optional toppings for these little red white and blue layered cheesecakes are whipped cream and sprinkles. I don’t know about you, but if I’m going through the labor of love that is making a beautiful, patriotic cheesecake, I’m adding ALL the sprinkles!

How to Make Red White and Blue Mini Cheesecake Desserts
This patriotic dessert recipe uses a graham cracker crust. You will mix up the graham cracker crumbs, sugar, and butter until everything is coated in butter and then you will want to divide this mixture evenly to fill the bottom of your cupcake liners. Make sure to press the mixture down really well.
We want the crust to firm up, so bake it for 5 minutes at 325 degrees. When it is done, make sure to allow the crust to cool completely.
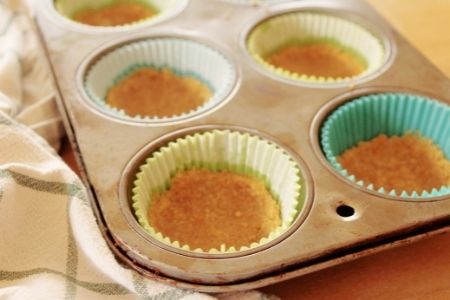
Once the crusts are done baking, reduce the oven to 300 degrees. In a large bowl, mix the cream cheese, flour and sugar on low speed until combined. Be sure to scrape down the sides to ensure all ingredients are mixed together well.
Then you’ll want to add in the eggs one at a time. After you add each egg, beat the mixture slowly.
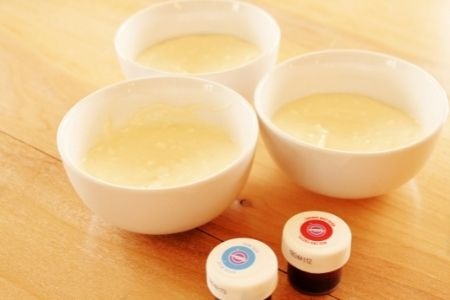
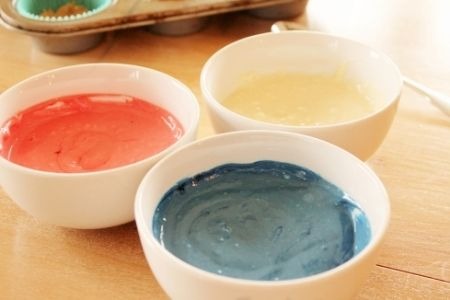
Next, divide the cream cheese mixture into three separate bowls. You will leave one cream cheese mix bowl white, so it can be moved to the side. For the two remaining bowls, one will become red and the other blue. Add gel colors to appropriate bowls until you reach your desired shade of red and blue for your layers.
Now it’s time to fill the cups! Starting with the bowl of white mixture, spoon the batter into each cup. Then layer the red batter and follow with the blue mixture on top for each of the cups.
Once you’ve added the three layers to the crusts in the cups they will be almost filled to the top.
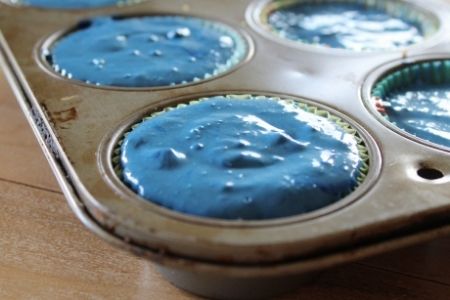
The mini red white and blue cheesecakes need to bake for 18-20 minutes at 300 degrees. Then turn off the oven and leave the mini cheesecakes in the oven with the door closed. Set a timer for 10 minutes and allow the cheesecakes to sit in the oven.
When the timer goes off, crack the oven door open and allow the mini cheesecakes to cool for an additional 15-20 minutes as you enjoy the wonderful aroma.
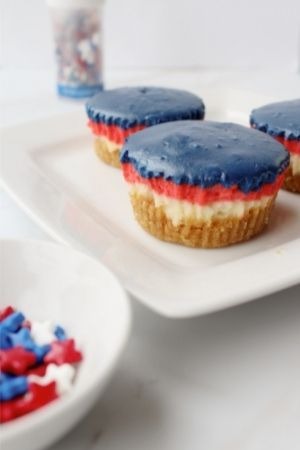
Finally, remove the liners from the mini red white and blue cheesecakes and top with additional toppings as desired. My favorites are whipped cream and patriotic sprinkles!
Red White and Blue Mini Cheesecakes
Ingredients
- 1 cup graham cracker crumbs
- 2 tbsp sugar
- 4 tbsp butter melted
- 12 ounces cream cheese room temperature
- ½ cup sugar
- ½ cup sour cream
- 3 tbsp flour
- 1 ½ tsp vanilla extract
- 2 eggs
- blue gel icing color
- red gel icing color
Optional Toppings
- whipped cream
- sprinkles
Instructions
- Preheat the oven to 325˚F. Use a cupcake pan and insert liners into the pan.
- In a medium size bowl combine graham cracker crumbs, sugar and butter. Stir together until fully combined.
- Divide mixture and spoon into the bottom of the cupcake liners, press down firmly into the bottoms.
- Bake the crust in the oven for 5 minutes. Remove from the oven and allow to fully cool.
- Reduce oven to 300˚ F. In a large bowl, mix the cream cheese, flour and sugar on low speed until combined. Scrape down the sides to ensure all ingredients are mixed.
- Then add in vanilla extract and sour cream. Fully combine.
- Add eggs one at a time and slowly beat after each addition.
- Divide the cream cheese mixture into three bowls. Leave one cream cheese mix bowl white. Add red gel coloring to one bowl and add blue gel coloring to the other bowl. Mix gel colors until you get your desired shade of red and blue.
- Spoon the white batter into each cup, then layer red batter and top with blue batter. Continue with all cupcake liners. Each cup should be almost filled to the top.
- Bake for 18-20 minutes, then turn off the oven and leave cheesecakes in the oven with the door closed allowing them to sit for 10 minutes.
- Crack the oven door and allow mini cheesecakes to cool for an additional 15-20 minutes.
- Remove from the liners and top with additional toppings as desired.
- Enjoy! ☺
Swap the Red Dye for a Fresh Strawberry Puree in this Patriotic Dessert
Nothing says welcome to summer like strawberries. Ok, maybe watermelon, but strawberries are a close second and in this patriotic dessert recipe substitution they are a clear winner!
Whether you are wanting to avoid artificial red dye #40 or you just really love strawberry cheesecake, you can simply trade out the red dye cheese cake layer for a layer of fresh strawberry puree!
Strawberries and sugar are all that is required to make this strawberry puree. I usually make this first and then set it aside while I’m working on the rest of the cheesecake.
What you’ll need:
- 2 ½ cups sliced strawberries
- ½ cup granulated sugar
Add the sliced strawberries and sugar to a medium saucepan. Place over medium heat and cook for 10 to 13 minutes. While they are cooking, break the strawberries down with a wooden spoon. This will help speed up cooking them down.
Remove the strawberries from the saucepan and place in a blender or food processor. Pulse until the sauce is a smooth puree.
Set aside and begin working on the cheesecake. When you are ready for the middle layer, spoon the strawberry puree into the muffin tins.
(If you have extra strawberries, this puree is also amazing to serve on the side of these mini cheesecakes for people to spoon on top, so don’t be afraid to make extra!)

